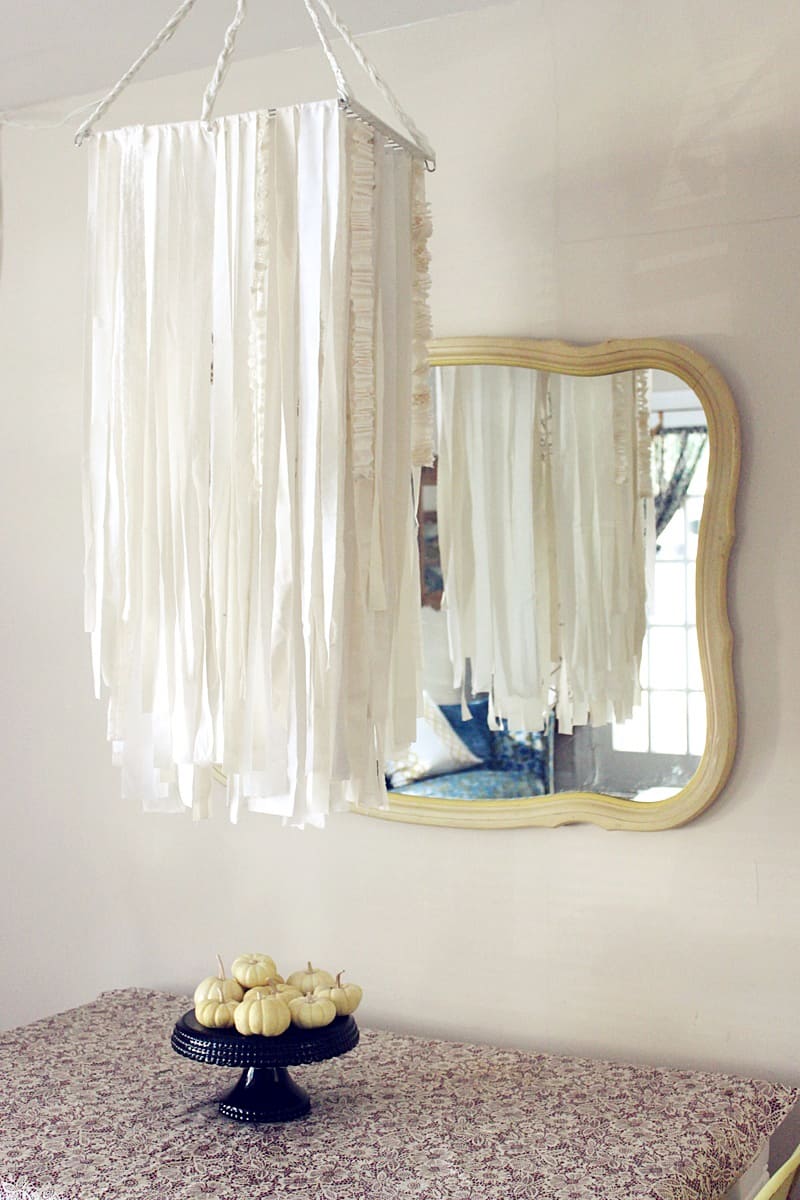
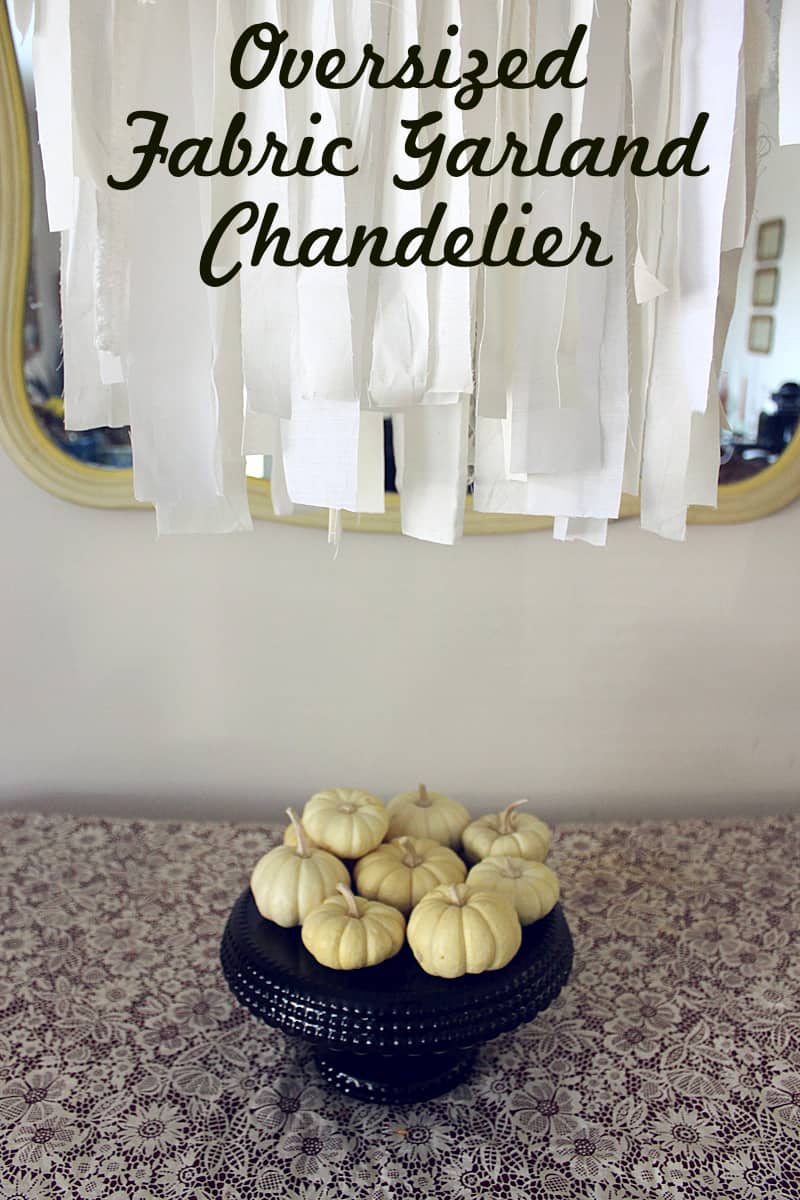
Make a statement piece in your home out of supplies you already have on hand! I designed my oversized fabric garland chandelier to fit over our table, but you could also use it in a corner that needs a little more excitement, above a reading nook in a child’s bedroom, or as the backdrop for your next holiday party.
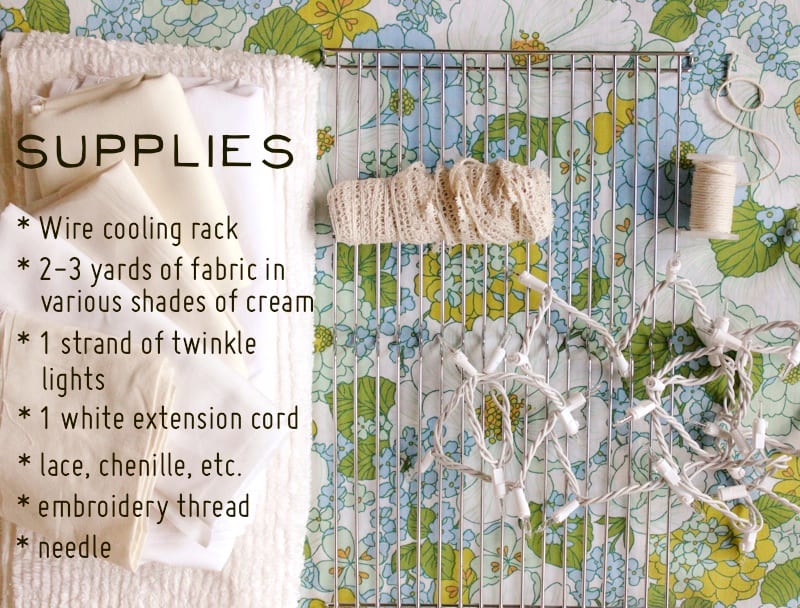
You’ll need:
-1 wire cooling rack
-2-3 yards of fabric in different shades
-1 strand of twinkle lights
-1 white extension cord
-lace
-chenille
-embroidery thread
-a needle
-two hooks that screw into a wall
-a drill
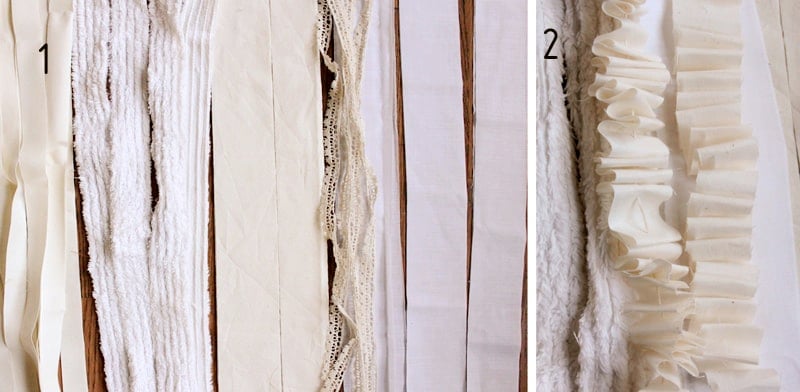
1. Cut strips of fabric in varying widths (1/2″ – 2″) for depth.
2. Create texture with strips by stitching loosely through them with embroidery thread and then bunching them up before tying a knot. Spread them out evenly along your thread and leave enough string at the end to tie it to the cooling rack.
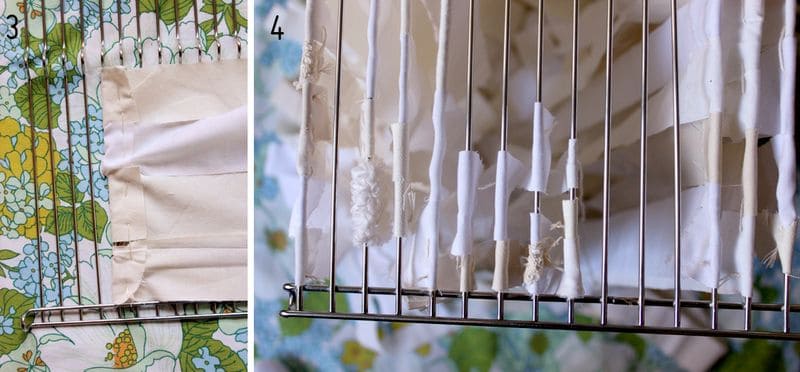
3. Starting about 5 rows in from the outer edge, fold the short ends of each strip of fabric over and hand stitch a complete row of fabrics. Vary the shades and thicknesses but use more thick ones than skinny ones on the inside rows.
They need to cover your lights and add density. Tie a knot at the end of your row and trim your thread. Repeat until the outer five rows on each side have been covered. Use more thin strips on the outer row.
4. Add three or four strips of fabric along the middle rows just at each end. You’re going to leave a big hole in the middle for the lights to hang. Add some thin strip here as well.
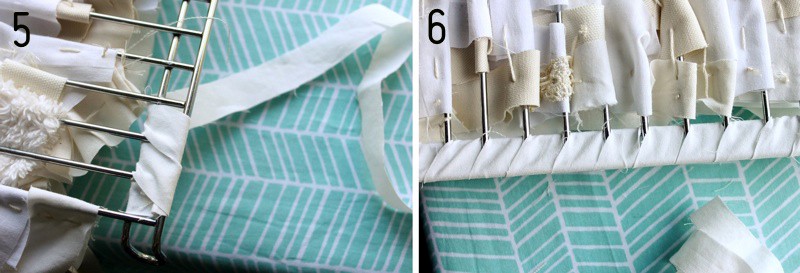
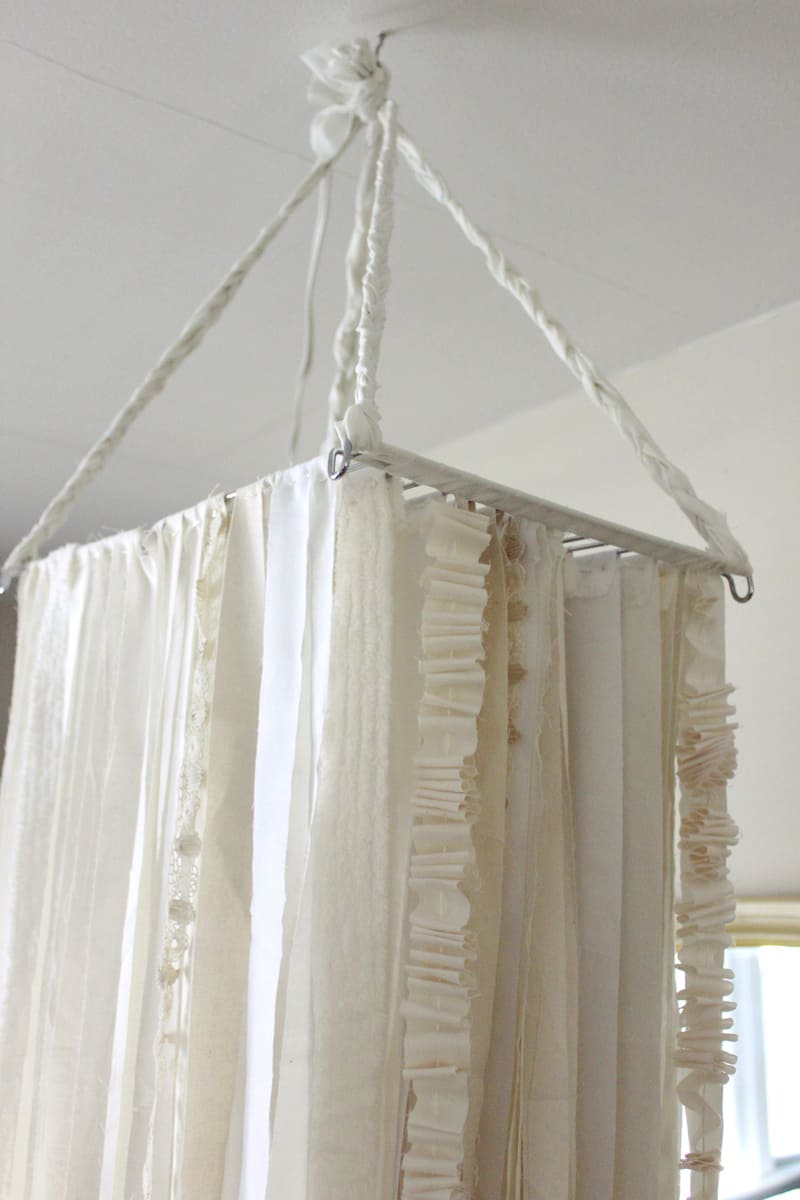
5. Use a thin strip and wrap it around the edge of your sheet to cover the exposed metal. Stitch together at each end to secure.
6. It should look like this. Repeat on the other side.
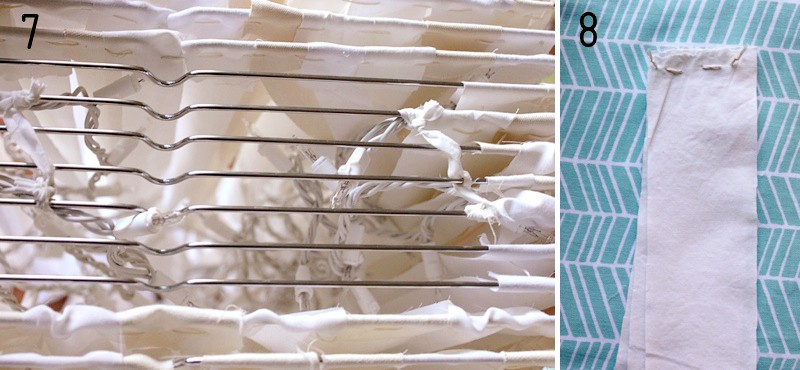
7. Carefully attach your twinkle lights. Start with the plug near the back left (or right) corner and tie it near the top with a thin strand of fabric. Continue to tie up your lights in three or four places. Let them hang down but not further than the fabric.
8. Cut four strips of fabric measuring about 2.5″ apart and stitch them together at the end as shown.
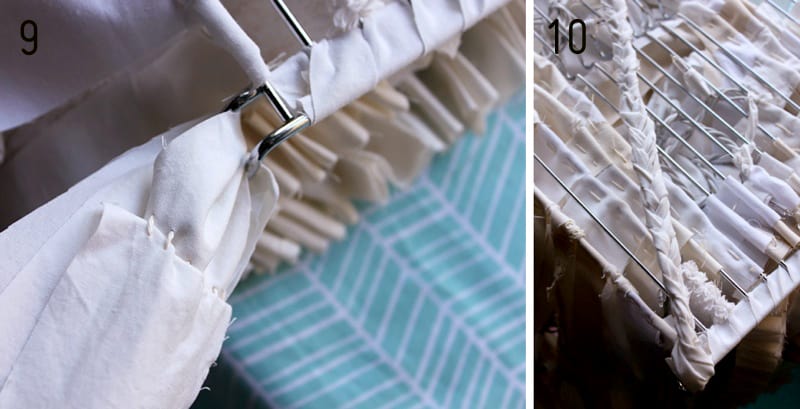
9. Pull one strand through the corner and continue to braid the rest together. This will be one of the four strands that you hang your chandelier from.
You can replace this with chain if you’d like but the fabric disguises the extension cord a bit. Attach your extension cord to the plug in from your twinkle lights and then braid it with the strand on that corner.
10. Draw all four strands up so that they are equal and tie them in a large knot.
Drill a pilot hole in your ceiling and hang a strong hook where you’d like to hang your chandelier. I drilled another above the socket against the wall so that the extension cord could hook into that and not hang down aimlessly.
Then, I plugged it in and had some lovely lighting! Trim yours up to the height you’d like.
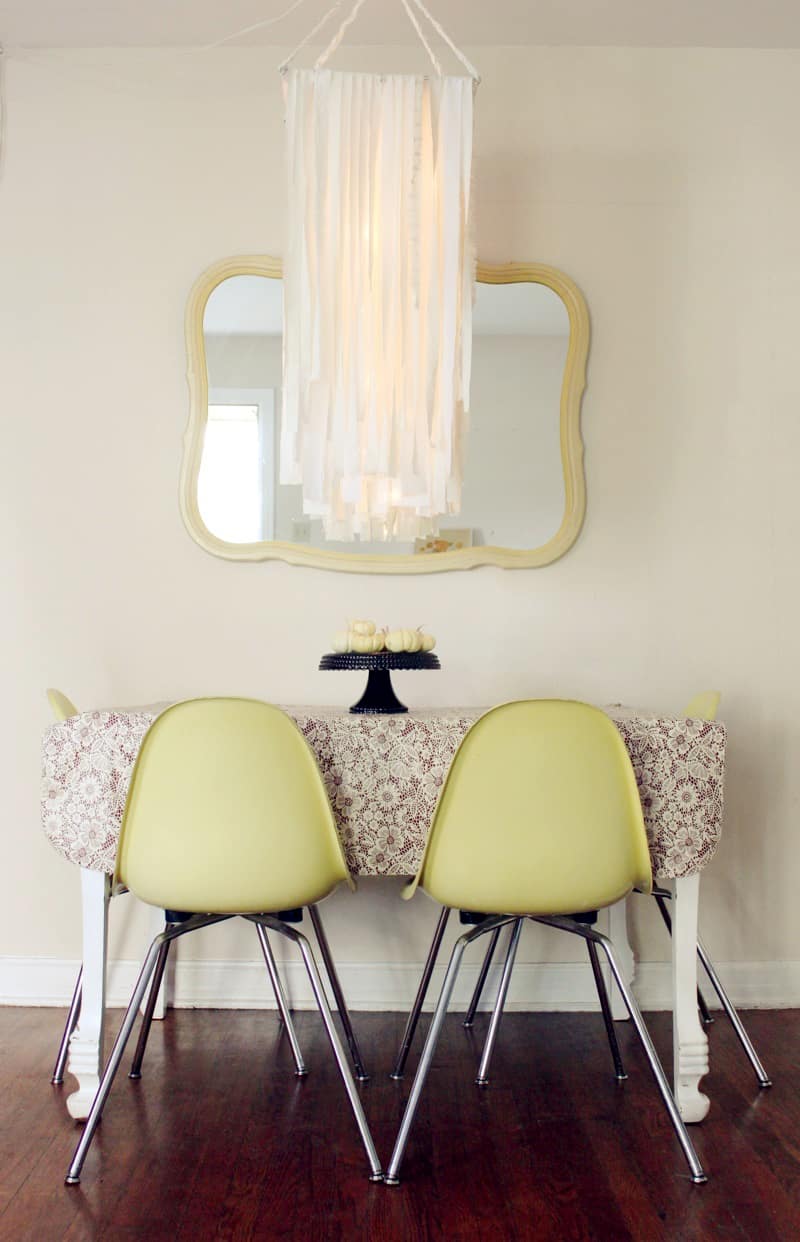
During the day it works as a statement piece and softens up the dining area. After dark it adds drama and a soft glow, perfect for these long nights. Enjoy! xo, Rachel
Love this post? Check out our DIY Wooden Bead Chandelier!
AS SOON AS PULLED THJIS UP I WENT OVER TO GRAB AN OLD 3 RING METAL WREATH FRAME AND STARTED SHREADING THE REST OF THYE MATERIAL I DIDN’T USE ON MY GYPSY CURTAIN! i CAN’T WAIT TO FINISH THIS TOMORROW!