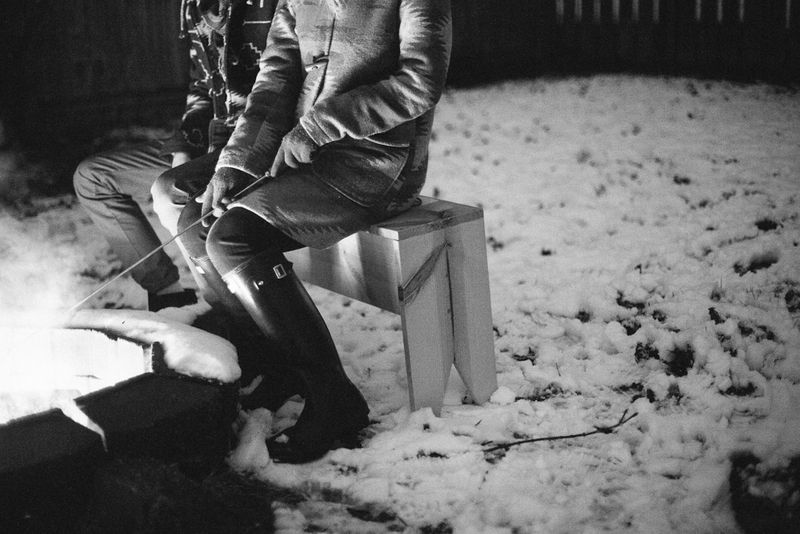
Last week, Josh and Sarah came to town. It was awesome. Sarah managed to squeeze in a bunch of photos of me and Trey.
For our fire pit idea, we realized we didn’t have any pretty chairs for the shoot—mostly just our camping chairs that we accidentally left out in the snow.
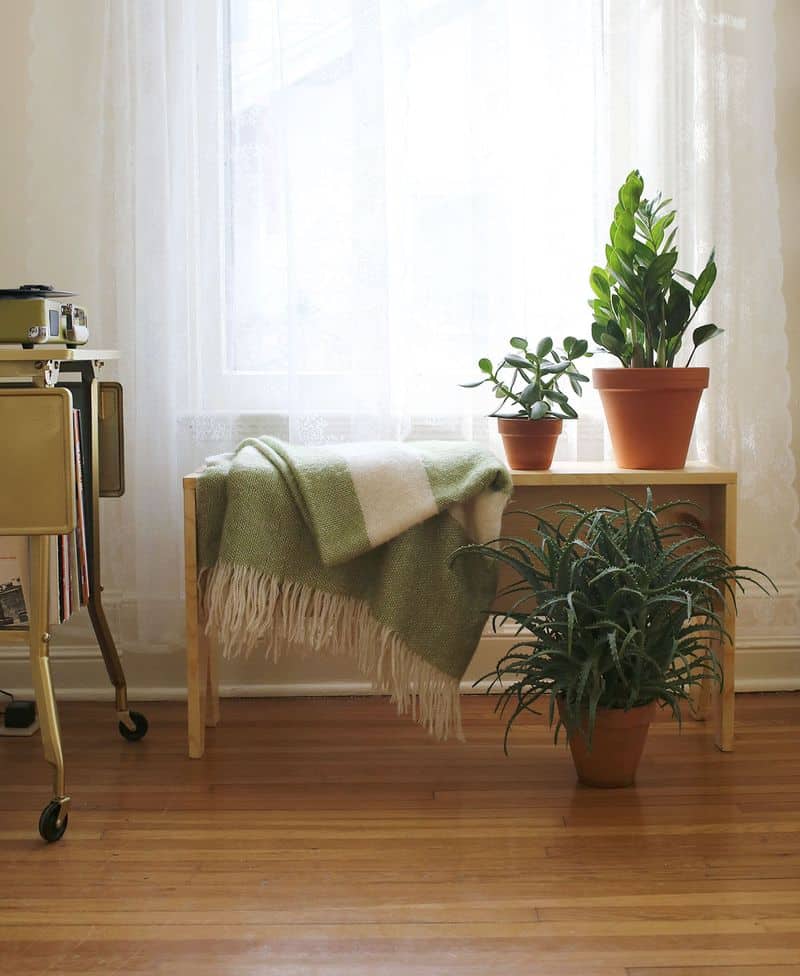
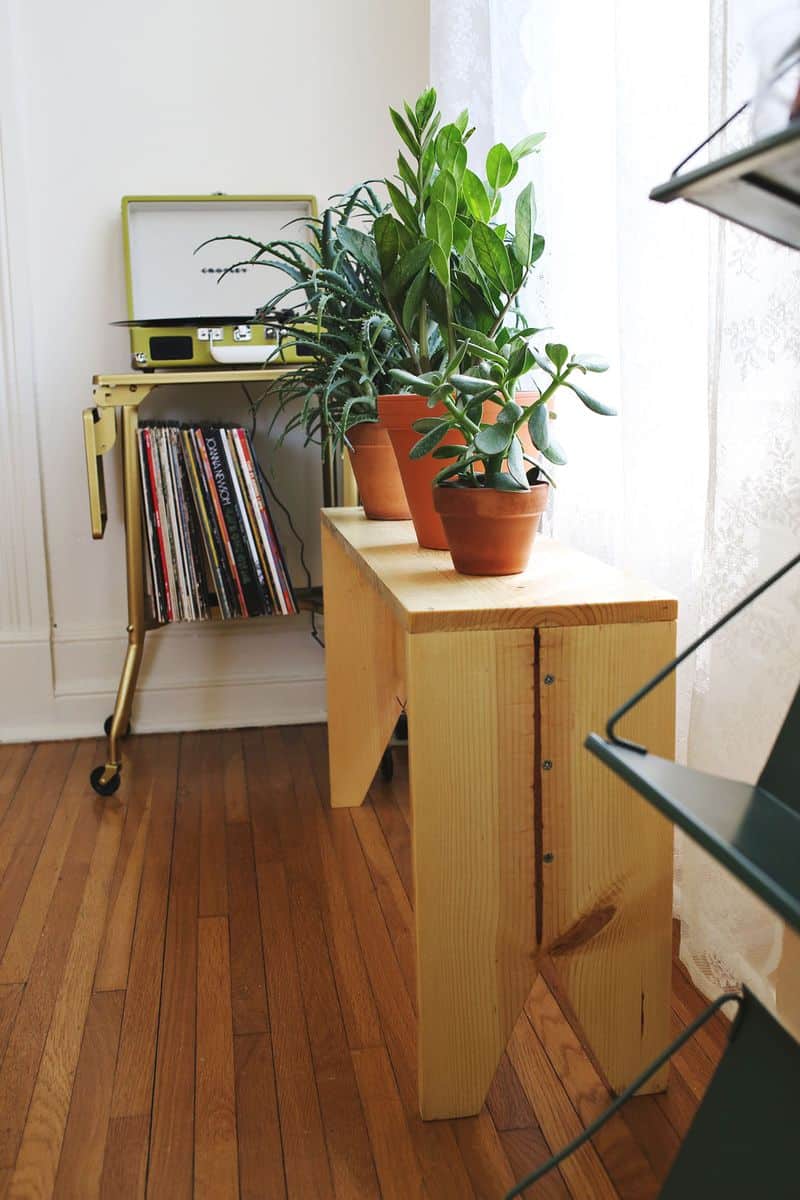
Josh was kind enough to whip up this adorable bench for our shoot. It’s such a cute bench it has already made it’s way into Elsie’s living room.
Here’s what you need to make your own homemade bench:
-2 pine planks 3/4 ” thick 10′ long at least 12″ wide
-drill
-Kreg wood screws
-sandpaper (50 and 220 grit)
-paint, stain, polyurethane (optional)
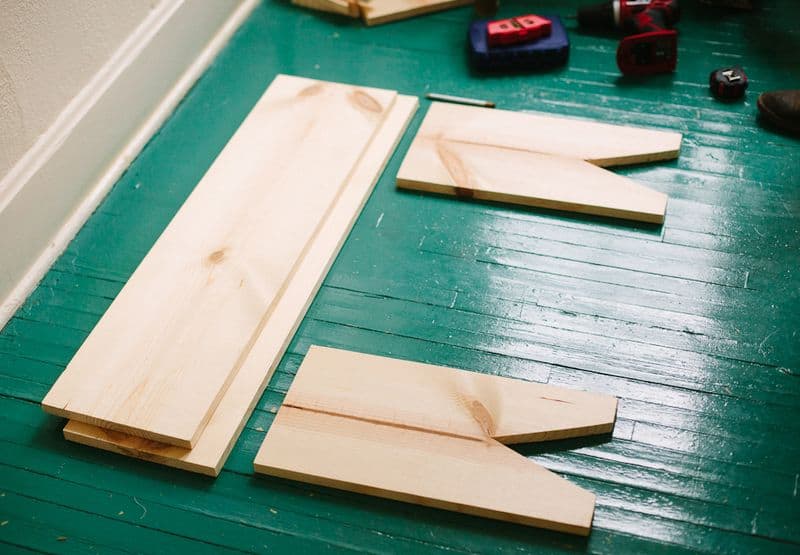
Step 1. Cut your pieces:
A. one 5′ long (seat part)
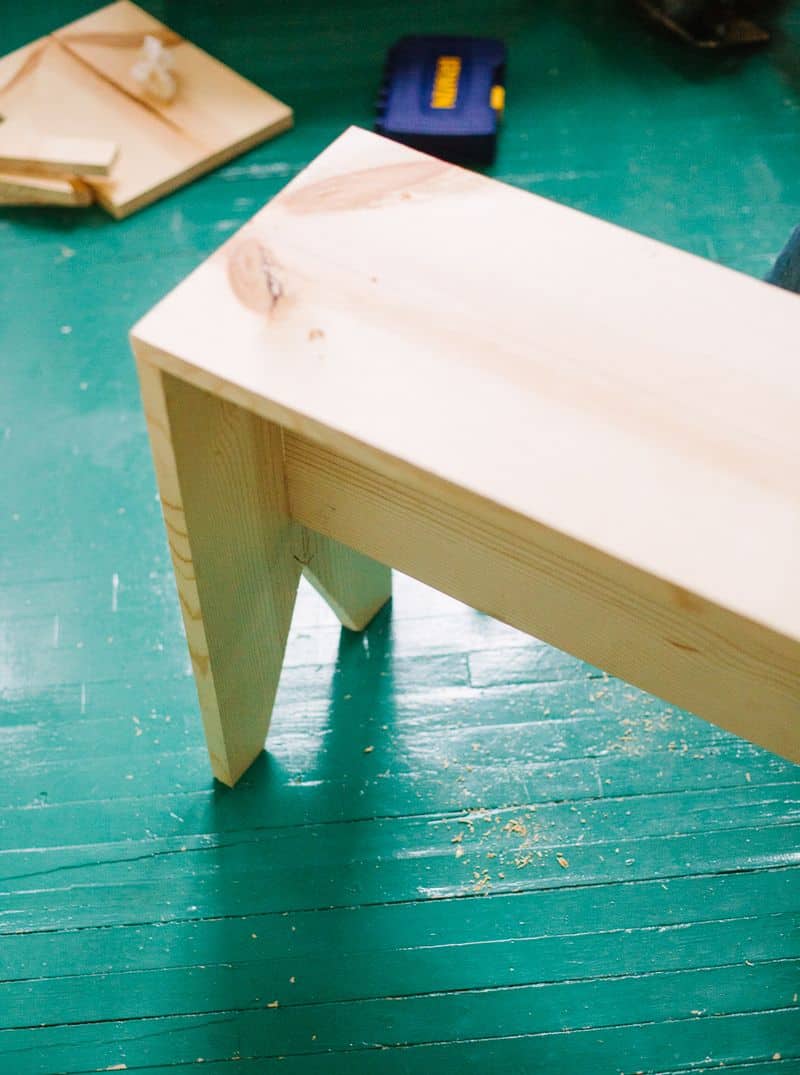
B. two 2′ long (legs) (cutting in triangle notches is not necessary, but its a simple way to give the bench a bit of character.)
C. one 4′ 10.5″ long (support piece)
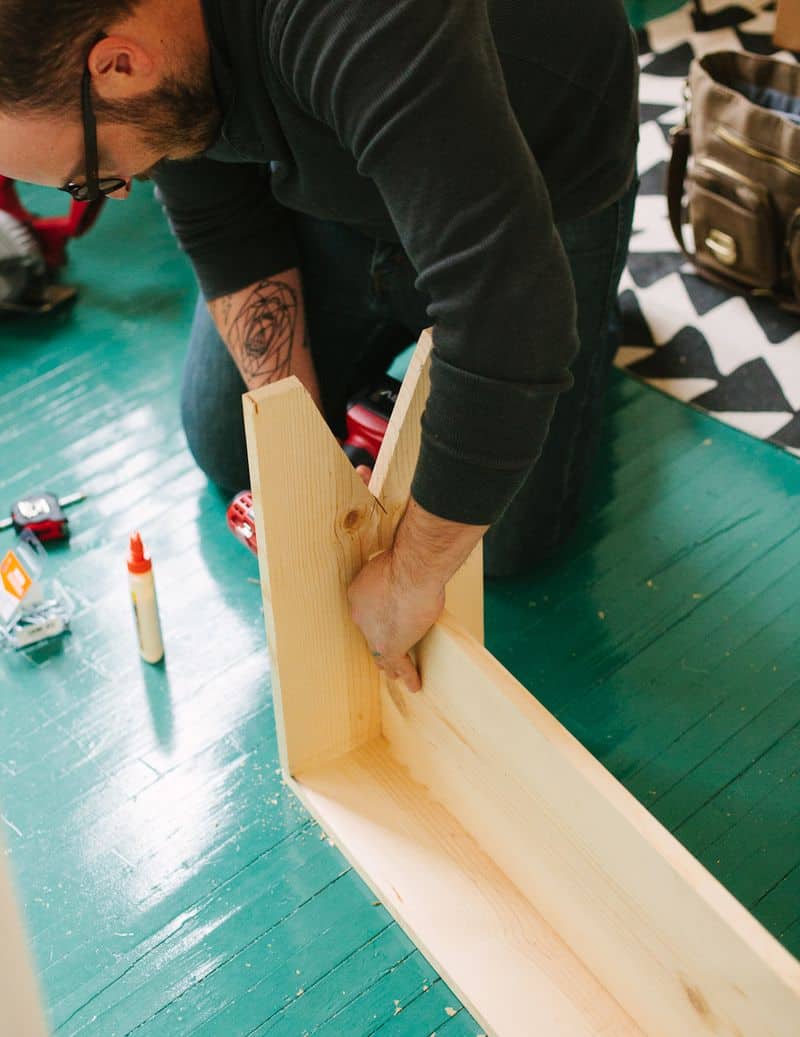
Step 2. Glue and screw in leg one either end of support piece. Hint: mark the center of both sides of the boards with a pencil, making it easier to line of pieces and then screwing them together.
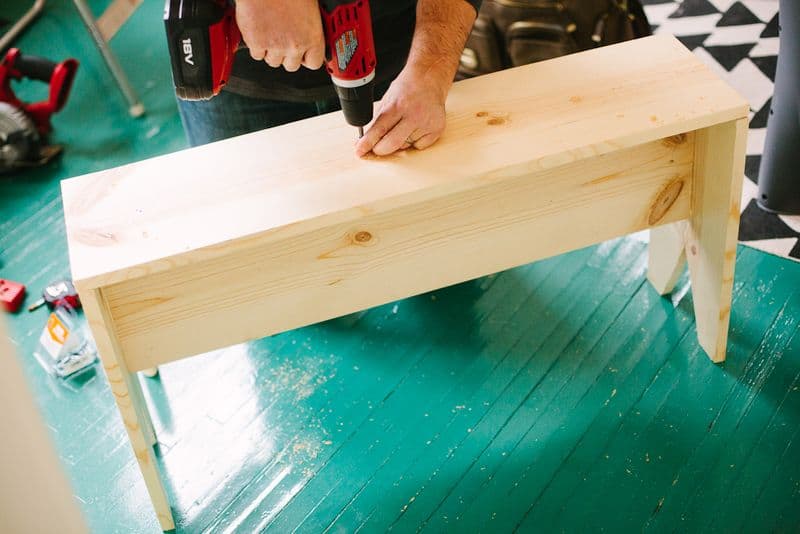
Step 3. Flip over and glue and screw seat piece across the middle.
Step 4. Allow the glue to dry.
Step 5. Sand any really rough spots with 50 grit sandpaper, and then switch to 220 grit for a smooth finish.
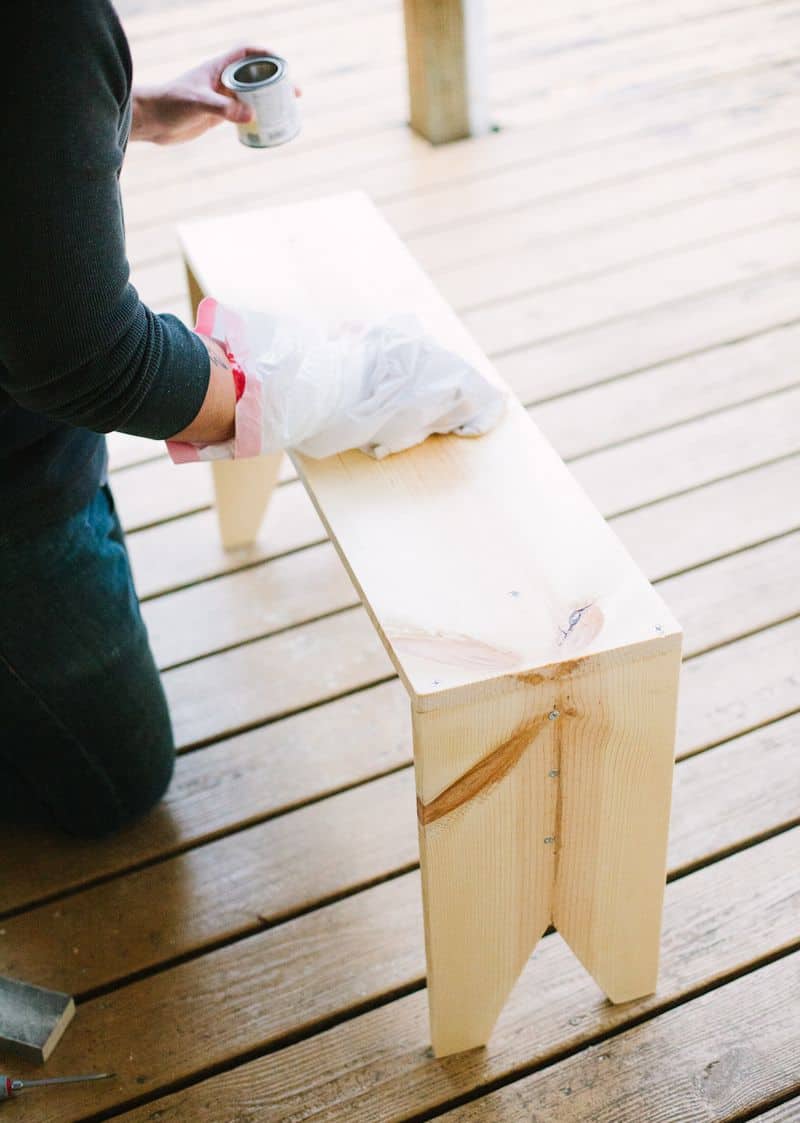
Step 6. Apply stain (if you prefer) and let dry over night.
Step 7. Apply a couple of coats of glossy, semi gloss, or satin polyurethane depending on your preference. Sand with 220 grit sandpaper between coats.

Thank you so much Josh for whipping up this bench for us! xo. Emma
Love this post? Check out Josh’s Bench With Built-In Storage!